How do I install and maintain my gym flooring?
Here at VULCAN, some of the most common questions we get asked relate to installing and maintaining rubber gym flooring. This guide sets out to answer these questions!
How do I install rubber gym flooring?
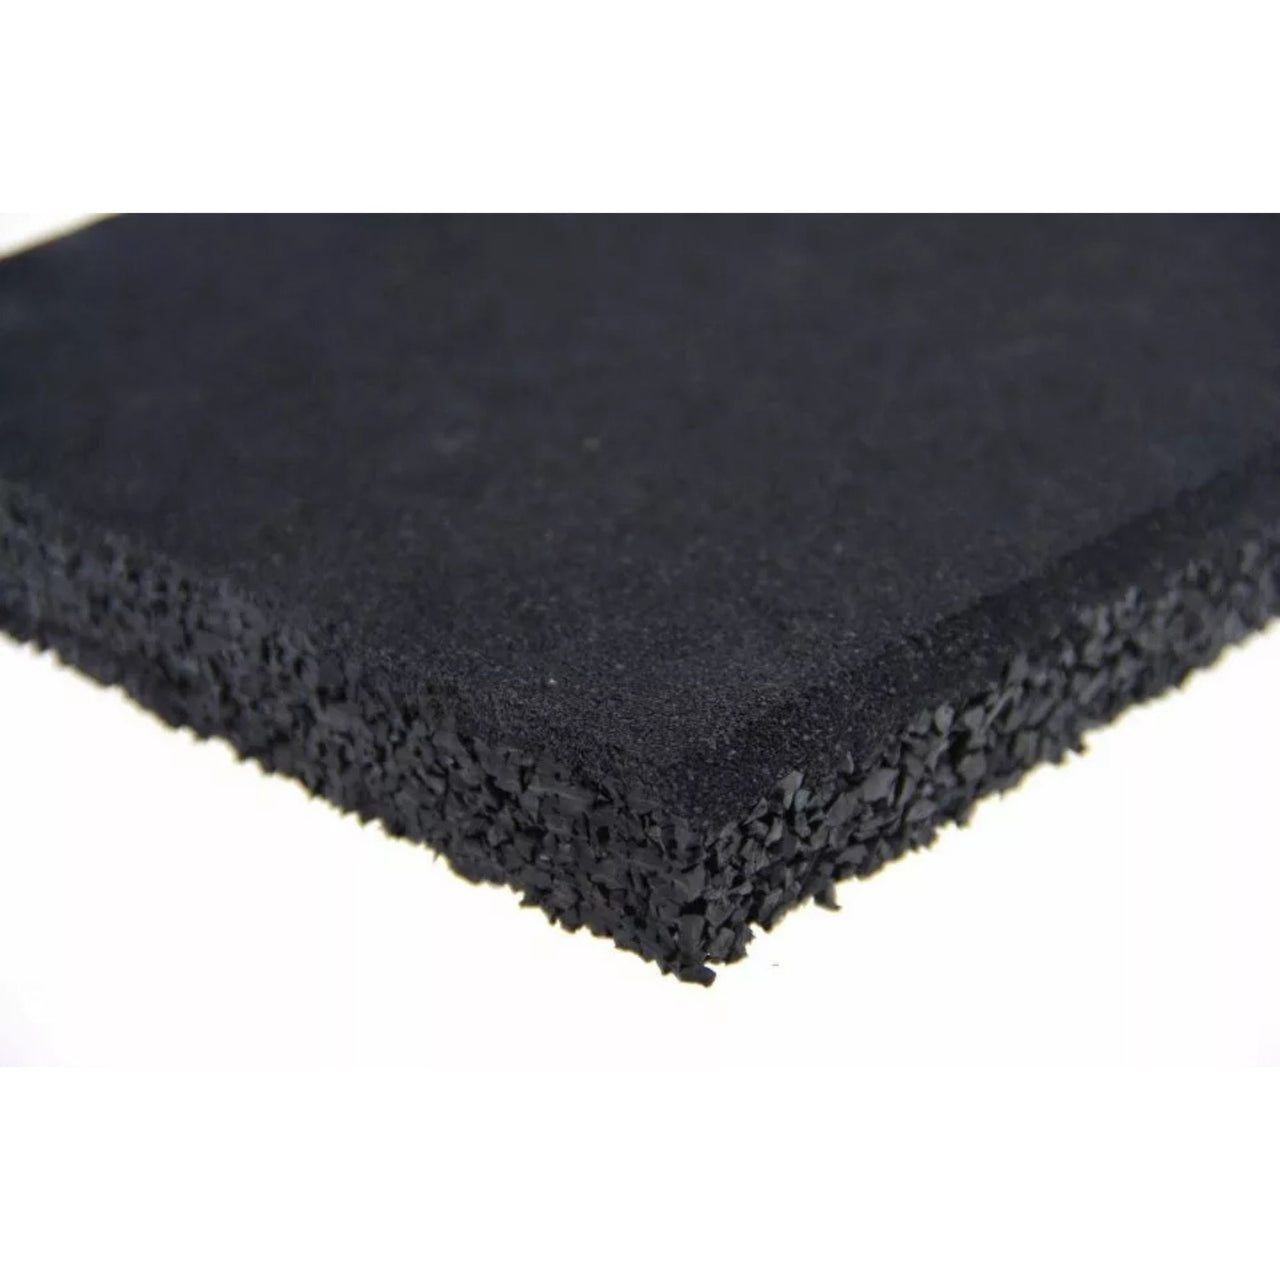
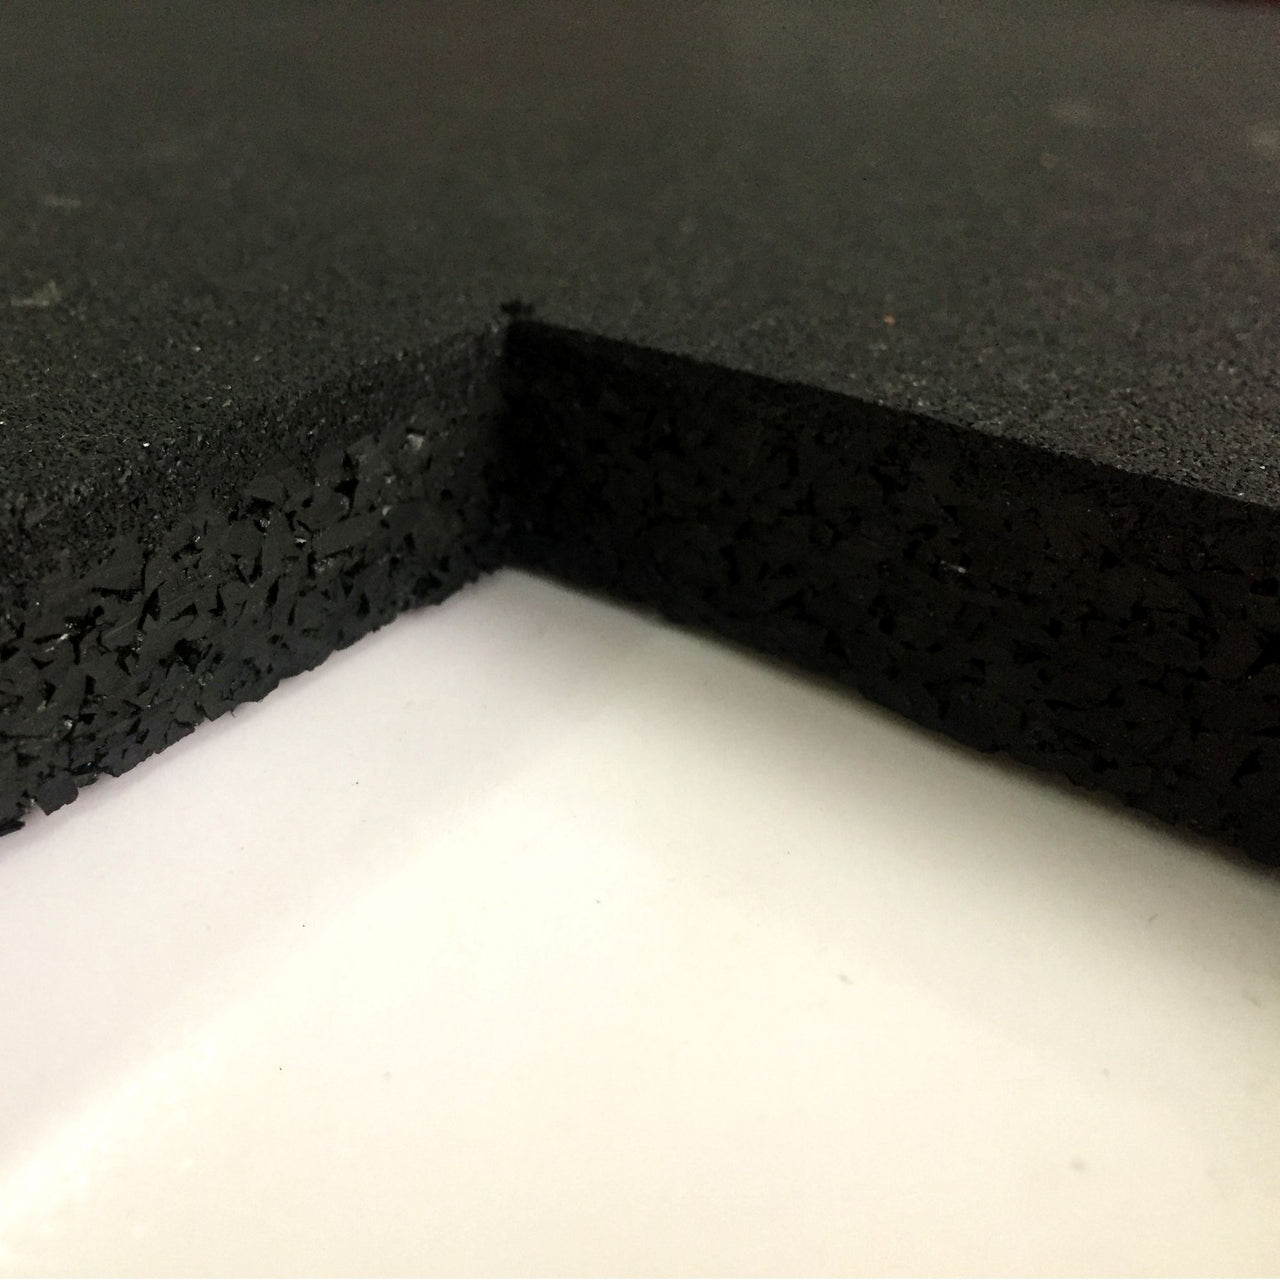
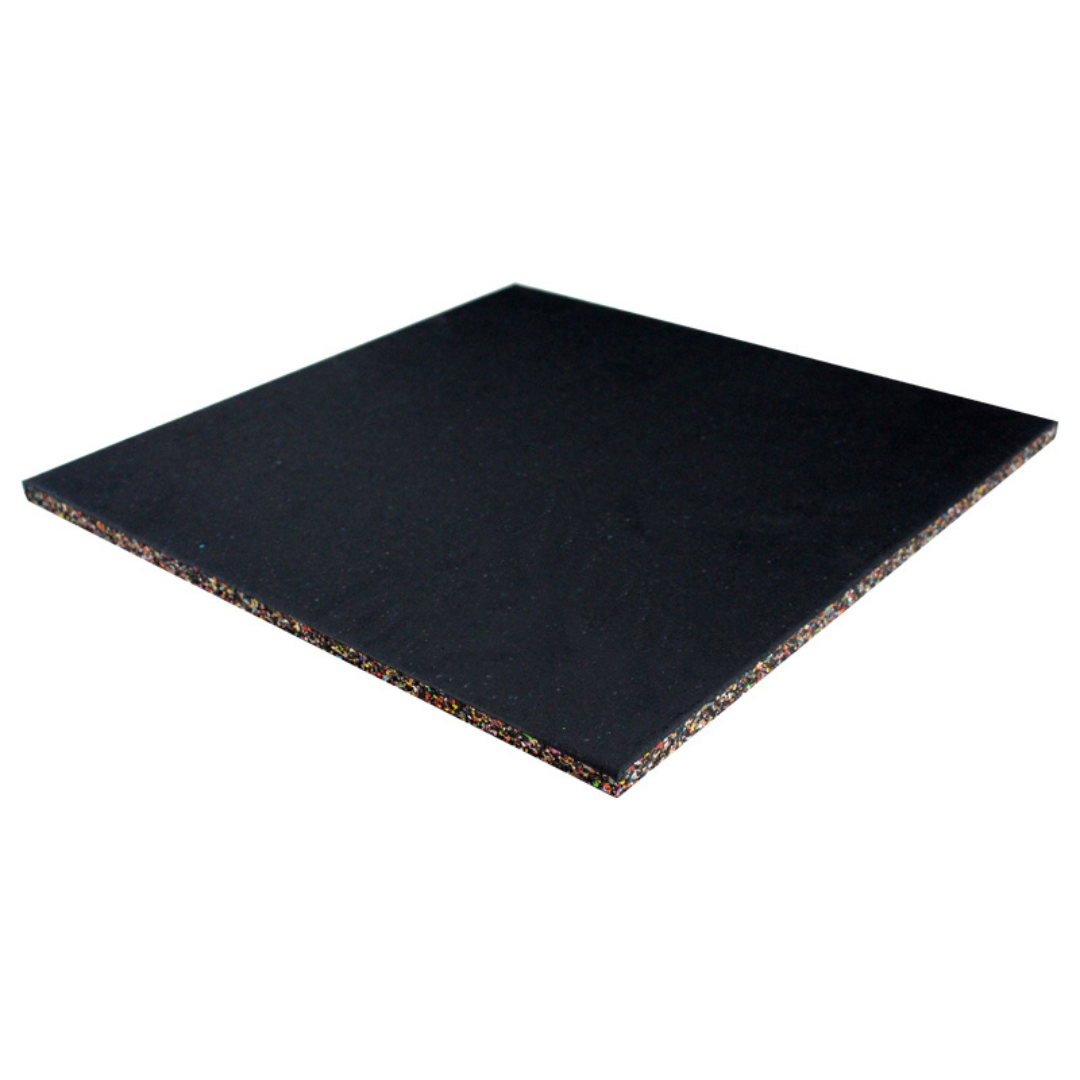
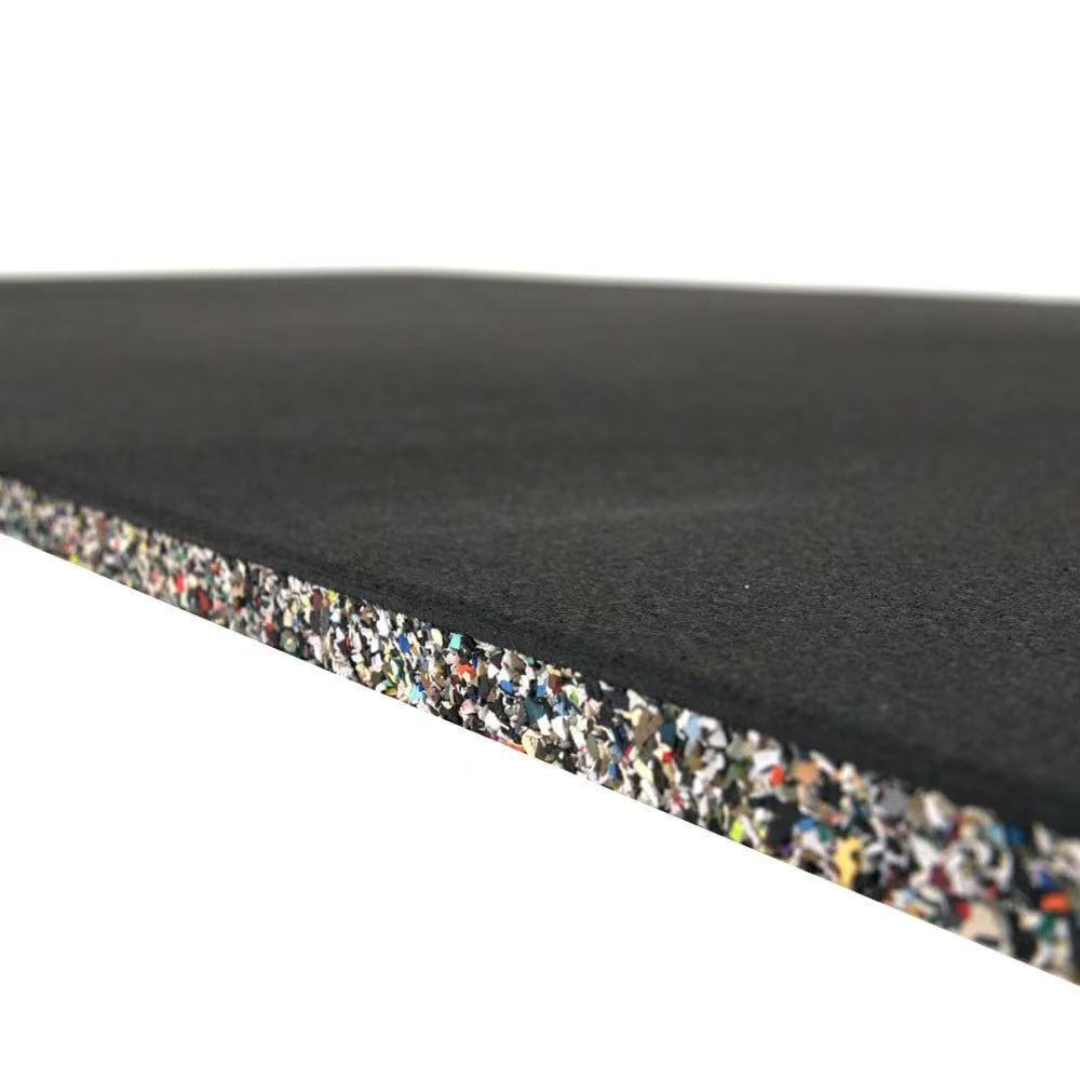
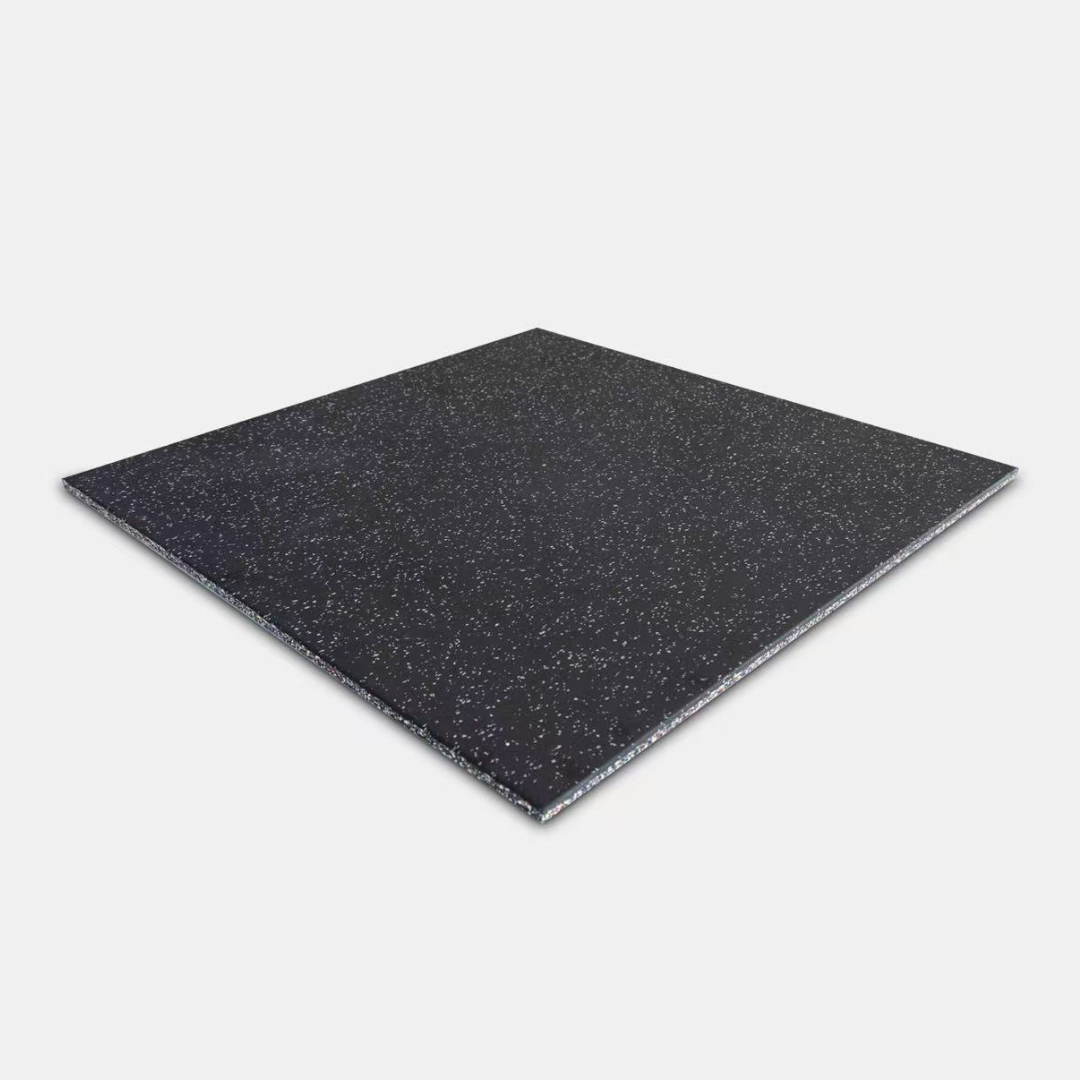
The VULCAN rubber floor mats that we sell are 1mx1m, and each tile weighs 12kg, which helps prevent sliding and slipping. If you don’t mind small amounts of movement over time, you can feasibly lay them straight down and start working out. However, to properly secure and install your gym flooring, we recommend following the guide below. If you will be performing high intensity exercises such as running or other explosive movements, we definitely recommend securing your rubber gym flooring using either adhesive, double sided tape, or creating a barrier around your mats. Installing rubber gym flooring can be a DIY job, but it does require proper preparation and attention to detail to ensure the best results
Steps to install your rubber gym flooring
- Measure and prepare the space: Measure the area where you plan to install the rubber gym flooring, and purchase enough flooring to cover the entire area. Ensure that the base is level and clean and remove any debris or obstacles. We recommend a quick sweep, mop, and vacuum. A concrete slab is the best base, but carpet, timber, or tiles can still work – just be aware that any dips can cause tripping hazards. Also, make sure to check if you have any doors that open inwards over the area you want to floor. A door that opens inwards is likely to bottom out on a rubber mat. Consider whether you can shave the bottom of the door so there is adequate clearance.
- Acclimate the flooring: Rubber gym flooring can slightly shrink or expand, depending on the temperature or humidity of the room. For the most accurate results, we recommend leaving your mats out for up to 72 hours.
- Lay out the flooring: There are a number of different patterns that you can use when laying down your rubber gym flooring. Ultimately, it depends on the shape of your space, how to minimise wastage if cutting of mats is required, and personal preference on the aesthetic look. For large areas of over 20 square meters, we recommend a brick style pattern. Over time, rubber gym flooring will continue to minimally shrink and expand. The brick style helps disguise any small movements, as opposed to having all tiles laid in a square grid (and will save you from having to line up endless corners). It will also stop mats from sliding past one another and keep them in place. Other options to consider include setting your mats up in a grid with a checkerboard pattern, with alternating colour flecks to help break up a room. It’s all down to personal preference.
- Cut your flooring to size: Use a stanley/utility knife to cut your gym rubber flooring to the correct size where needed. We recommend using a straightedge to ensure accurate cutting.
- Glue/Stick down the flooring: It is not required to glue down the rubber flooring. You may be unable to in some cases (such as if you live in a rental property). To limit movement consider using strong double-sided tape or ensuring the mats are tightly packed into the space. If you are using adhesive, ensure to follow all manufacturer’s instructions. We recommend ensuring that the area is well-ventilated. Apply a thin layer to the floor using a trowel, and press the rubber tile firmly into place. We recommend laying full tiles down first, and finishing areas where you need to cut your tiles later. Rubber flooring tends to shrink over time, so try and pack the area as tightly as possible. Remember you can always trim it further if required.
- Allow the flooring to settle: If you have used adhesive, ensure that you wait the required time to ensure that the rubber flooring has adhered properly to the floor.
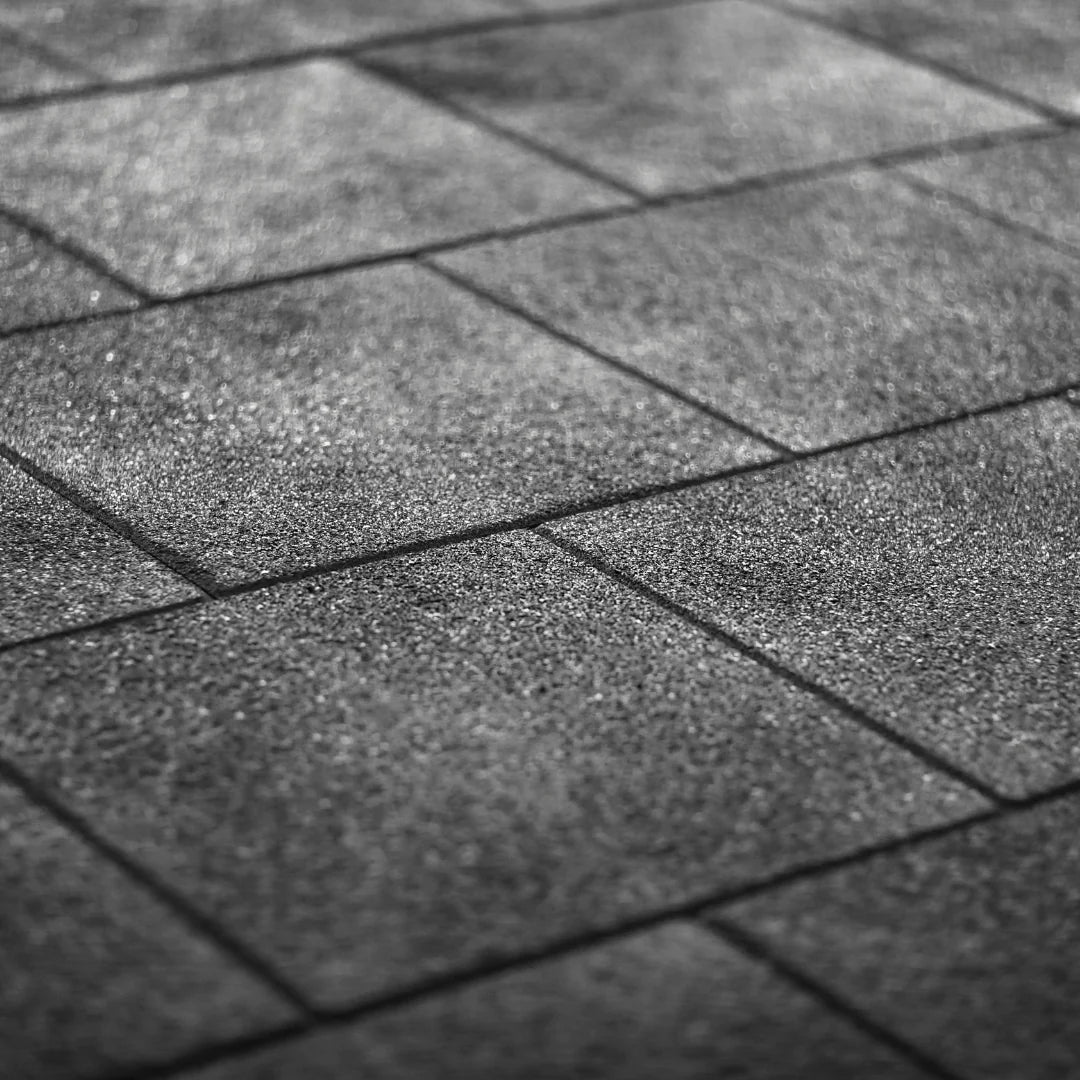
What is brick style pattern?
Rubber flooring in a brick style pattern refers to a type of flooring made from rubber material that is designed to resemble the appearance of brickwork. It typically features a repeating pattern of rectangular or square shapes arranged in a staggered, brick-like formation. This style of rubber flooring offers the aesthetic appeal of bricks while providing the benefits of durability, slip resistance, and comfort that rubber flooring offers. It can be commonly used in commercial spaces, gyms, play areas, or other high-traffic areas where a combination of visual appeal and functionality is desired.
How to clean rubber gym mats?
So your rubber floor mats for gym are now installed and your space is looking mighty fresh! Unfortunately, that is not the end of it. While rubber gym flooring is a durable and low maintenance option, it still requires occasional care to ensure that it lasts as long as possible. And they have an annoying habit of getting dirty. Here are a few tips for cleaning and maintaining your flooring!
Clean regularly: Sweep and Vacuum your rubber flooring regularly to remove dirt, dust, and debris. Use a damp mop or cloth to wipe up spills and stains, or a build-up of dirt and grime. When mopping, try to avoid soaking your mats. Make sure to wring out most of the water prior to mopping the surface.
Avoid harsh chemicals: Do not use harsh chemicals or abrasive cleaners (such as bleach) on your rubber flooring, as they can damage the surface. Instead, use a mild detergent and water to clean the flooring. Look for cleaning agents that have a neutral PH.
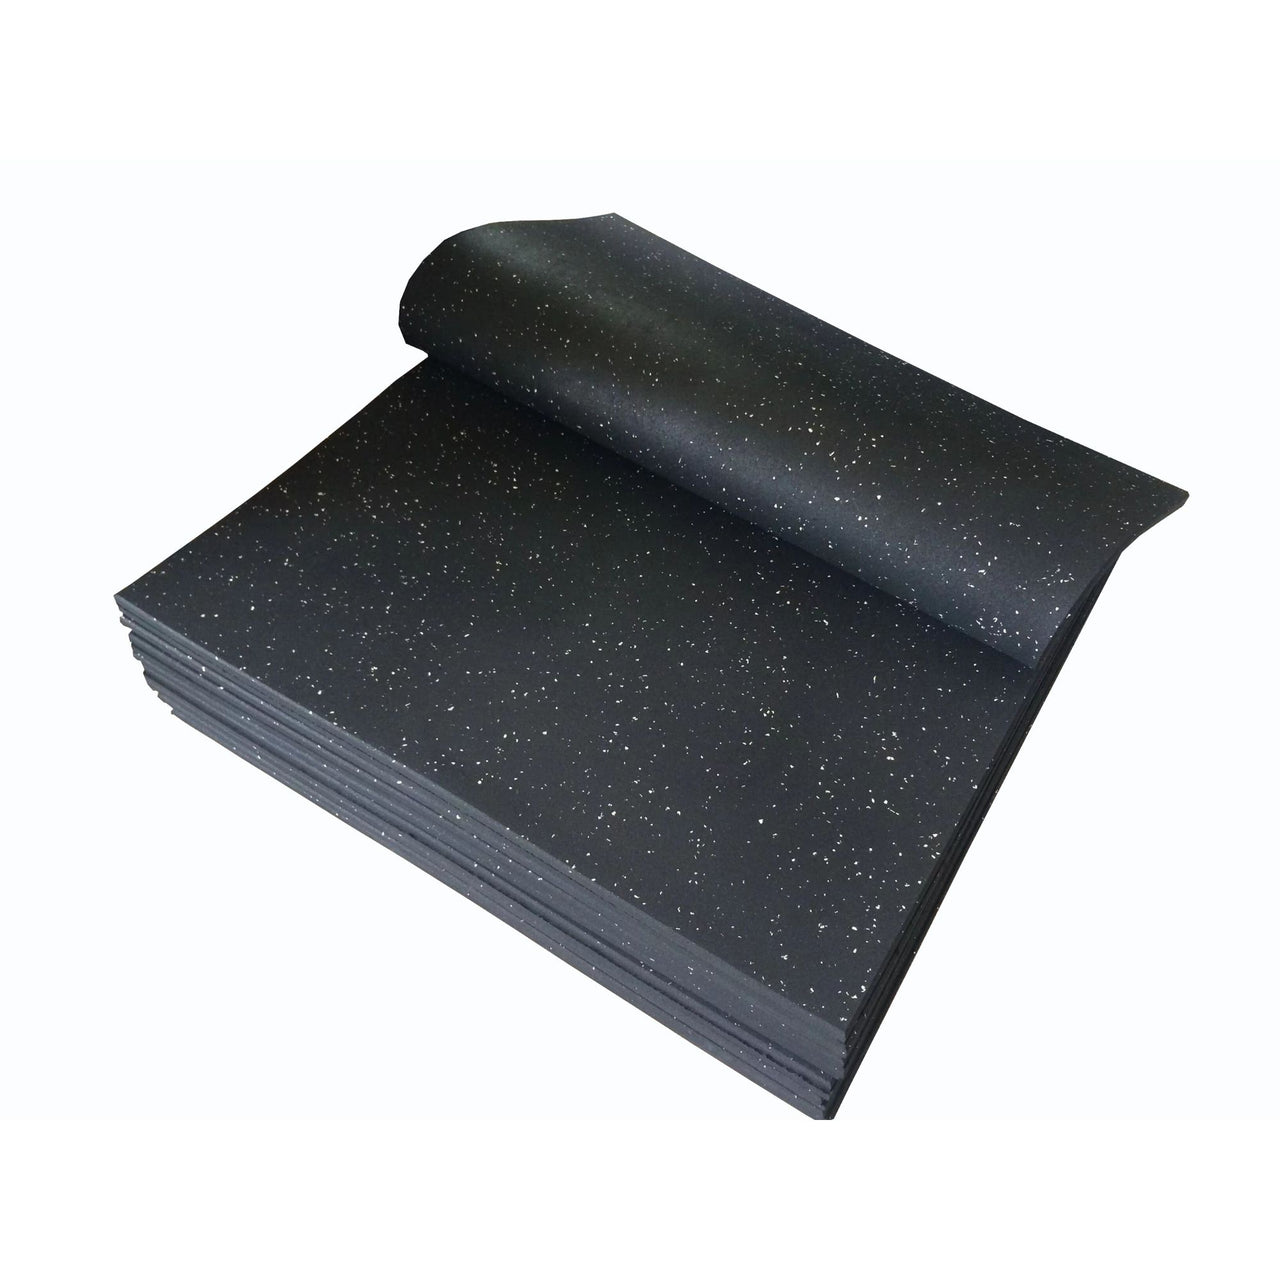
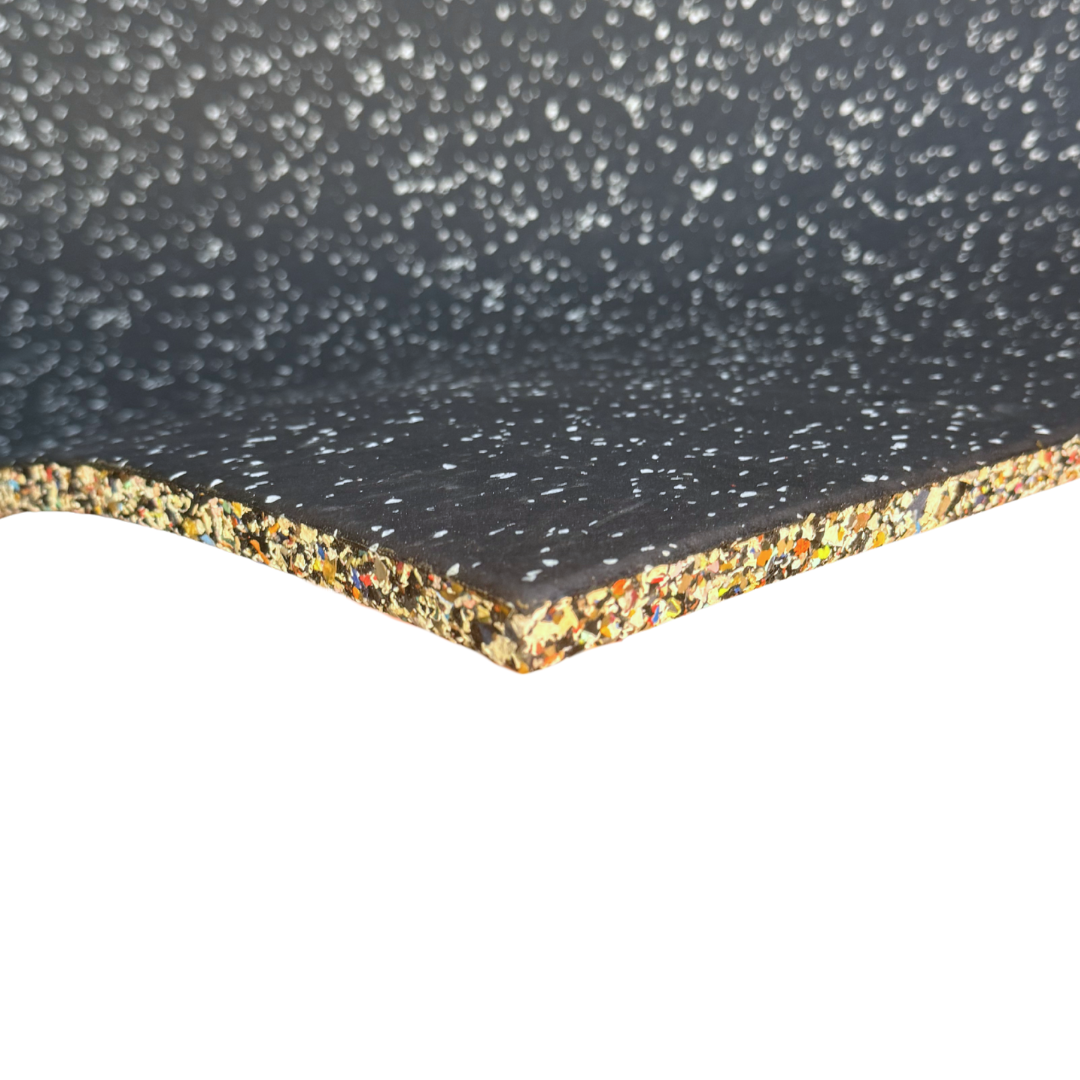
Looking to purchase rubber floorings? Check out our entire range here. We have a range of 15mm rubber tiles, which includes EPDM flooring (longer lasting and slightly easier to clean), standard black flooring and flooring with grey and blue flecks. Remember, we can offer price
If you have any questions, please reach out to our team at support@vulcanfitness.com.au
A lot of people ask us if the 10mm gym mats from Bunnings are good. These mats are 10mm thick, and while they do an okay job, they tend to shift a lot underfoot. It is not until you change to 15mm mats you will notice how much difference the extra 5mm make. The extra weight of the 15mm rubber gym flooring prevents the mats from sliding around under foot, and provides a lot more shock absorption.

